


Bristol Photo Studio - Katie Forshaw Photography
- Katie Forshaw
- Mar 13, 2024
- 5 min read
Updated: Jul 8, 2024
Transformation of my double garage to a working small photography studio in Portishead, Bristol

I went from working in a make shift room in the house to working in a 3.6x5.2m studio that I love. Have a look at how we did it!
Before - The "Man Cave"
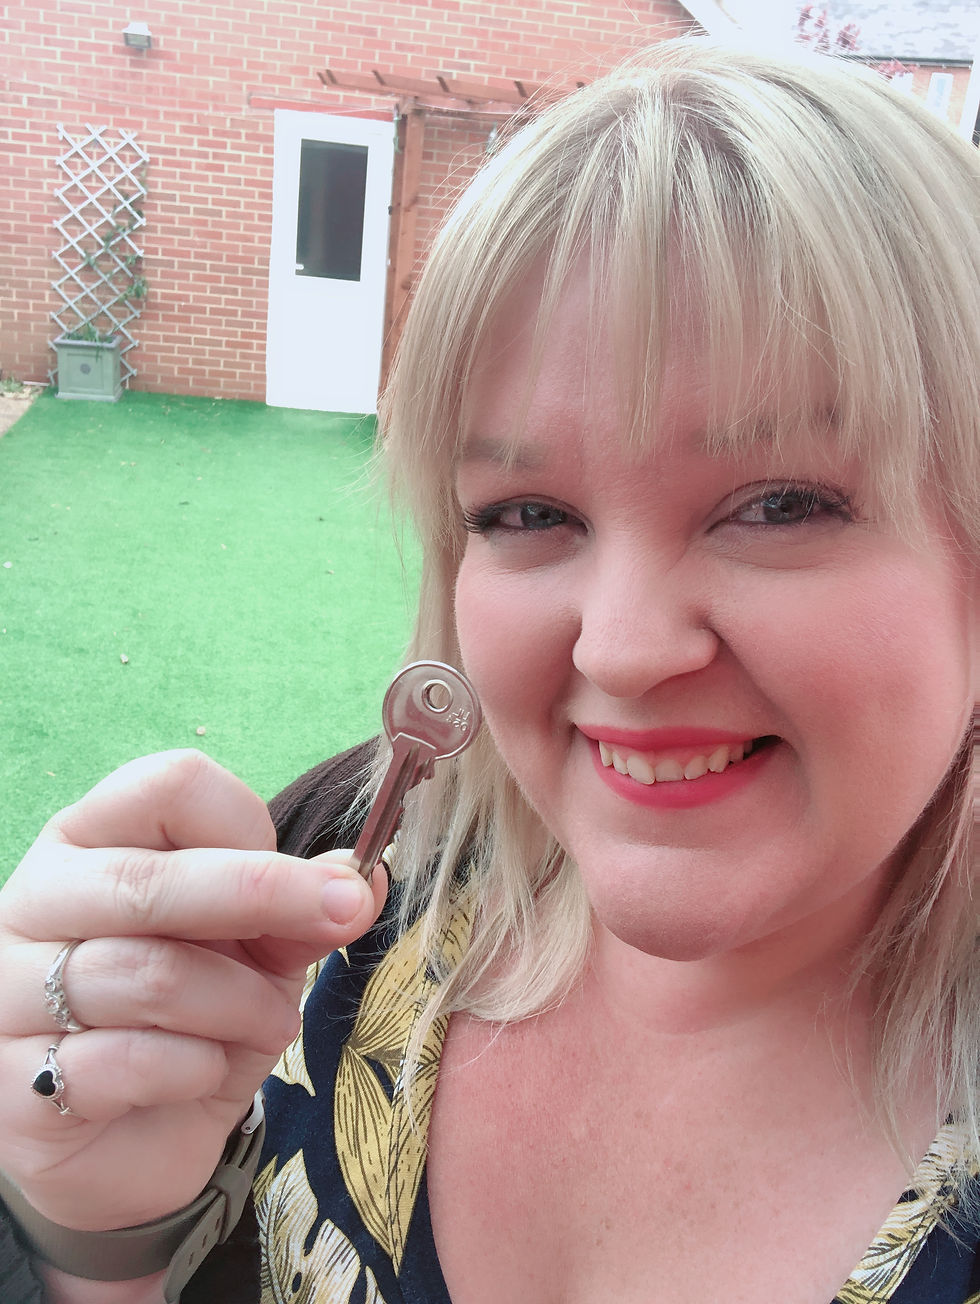
When I first opened my photography studio in Portishead, Bristol in 2019 we had spent most of our money on our house move so we just painted the walls white and did what we could with a bit of money that we had remaining.
When we moved into the house the garage at the end of the garden had already been converted into a make shift "man cave" by the previous owners. He used to have a snooker table in there, mini fridge, sofa, dart board and Sky cable running down the garden so he could watch football! This is what it looked like before we moved in.


When I first started photography
In the very beginning, when I had started to take photography serious, my husband used to work away a lot. When he was away I would use his office space (spare room in the old house) and put up a makeshift studio.


It worked for a few shoots, but the paper roll was a bit awkward because of the carpet so I used to spend ages editing out the floor creases. I was absolutely determined to have photography as my main job and was desperate to move house and have a place to work. By April 2019 we moved in to the new house in Portishead, Bristol and started to work on making the garage less "man cave" and more "photo studio".
The first photo studio renovation
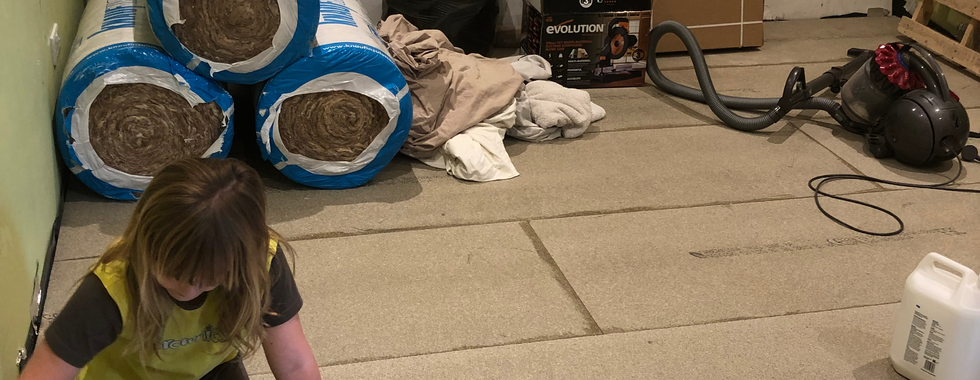
In June 2019, to save some pennies, we used YouTube to learn how to make a raised insulated floor and how to lay floor boards down. Of course, it would have to be one of the hottest June and July's ever and there was no breeze able to get into the studio at all. It was so hot in there! Everybody mucked in, my daughter included.
We used Kingspan insulation to raise the floor and then B&Q clip together floor boards.


We decided to keep the doors which were already there, which means we needed to have a step in the floor to allow the door to open fully. An £11 off cut of office carpet and some silver trim edging finished it off and it saved us from having to raise the doors, which would of been costly.
We white washed the walls all over - a few years later, when I knew more about photography and how light works, i probably wouldn't have painted the walls white because it's only a small 3.6m x 5.2m room and basically was like a giant soft box with light spilling off the walls and ceiling. (you can see how I have changed this now further down this blog.


I started off with cheap white builders paint but it was taking about 3-4 coats, so to finish the job quicker I got white Dulux paint and only needed one coat.
Creating a photography backdrop using tester paint pots
I have a column going down the middle of the wall either side of the studio, so I thought I would use the division to create 2 studio backdrops on the wall using tester paint pots.
I used rags, sponges and my fingers to create the backdrops.


I actually only ever shot on the grey one in the end! I enjoyed painting them though :)
Creating Photoshop overlay textures for Etsy with the painted walls
I run Makememagical Etsy shop for overlays and digital backdrops. Once I had finished painting the backdrop walls I had the idea of taking photos of them and then making them into textures for photography. I took photos of different sections then recoloured them in Adobe Photoshop.


The first "finished studio from 2019-2023


Summer 2023 photo studio refurb
After 4 years of a grey floor and white walls I wanted an interior which reflected my style a little bit more. It was a great 4 years in the studio - apart from having to close on and off for Covid lockdowns.
I have developed over the last few years and my photography style is more fine art and dark now. My website is black, so I wanted to reflect this inside the studio too.
I had built up funds for the studio renovation over the last year so I was able to get help this time with decorating and doing the flooring.
The studio clear out
Over 4 years I had accumulated quite a few things, so I needed to move out the desk and computer and work from inside the house to provide some extra storage space and move the Ikea Kallax units into the new office too.


Installing the studio flooring
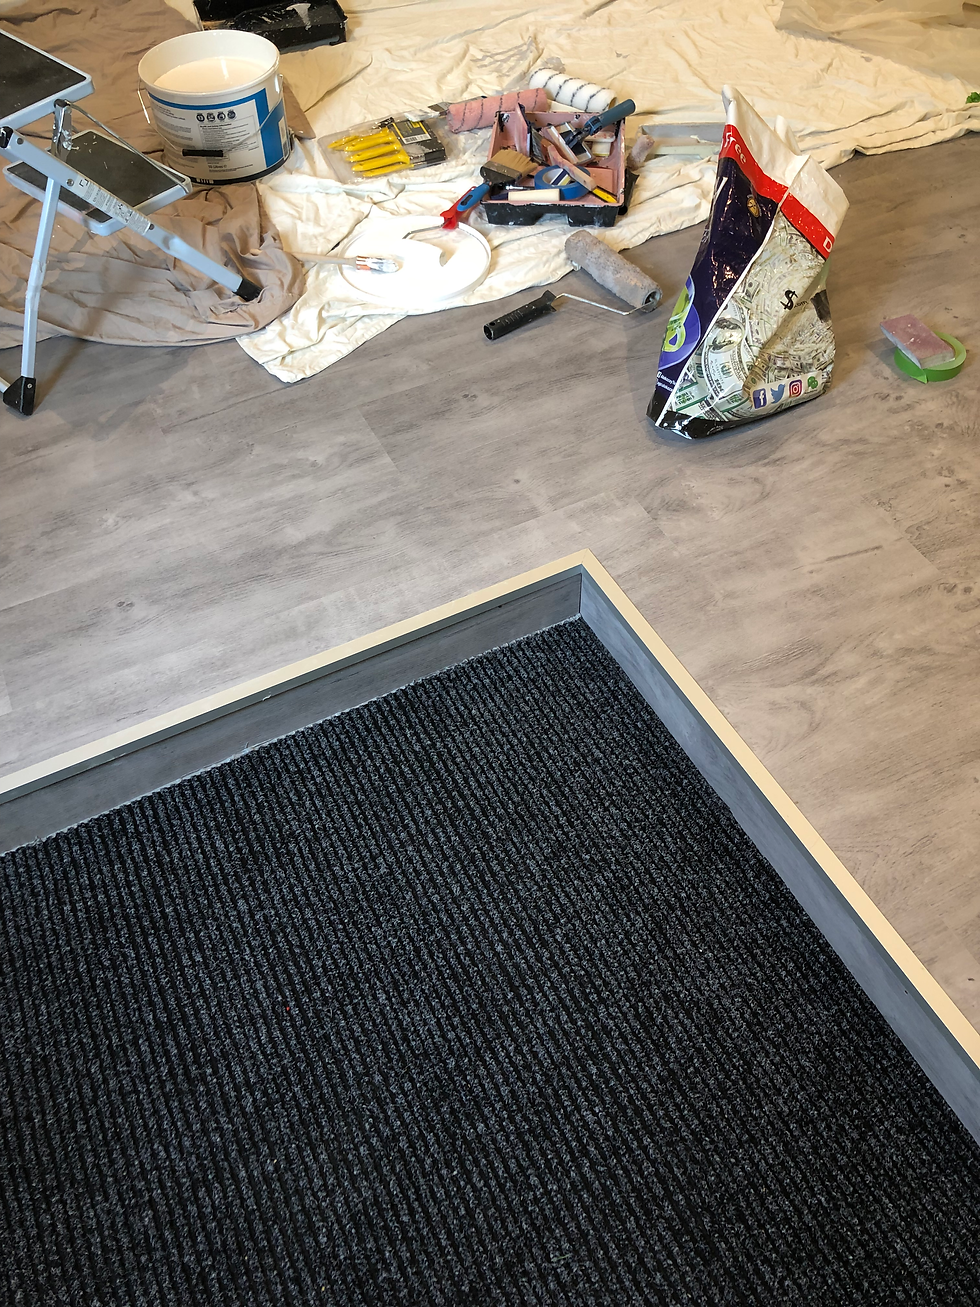
We went back to B&Q again and found some nice brown click together laminate flooring. This time we got thicker 12mm flooring due to the amount of traffic in and out the studio.
I decided on brown this time so I could use it for photo sessions too. I used to roll out a brown rubber backdrop matt, so now I don't have to!


I also decided to have some shelving installed for a reveal wall for mounted prints and I needed extra floor space, so instead of using a backdrop system with poles and stands I would get an electronic backdrop wall mounted system which holds 4 rolls at a time from Pixapro.
Motorised Quad Background Expansion-Drive Set For Seamless Paper Or Vinyl Backgrounds

Painting the studio walls and wooden panelling
My go to painter is Tony Radnedge from Splat Decorating
He has done all the rooms in my house, so I had to ask him to do the photo studio for me too. He is amazing at his job and so professional. His cutting in is incredible and he really takes his time to do his work.
Tony had never done wall panelling before, but wanted to give it a go, I trusted him 100%
We got the Cheshire Mouldings Pine Dado Wall panelling kit from B&Q and needed about 4 packs for the studio.


Vasagle studio Furniture from Amazon
On one of the weeks that we were decorating I hosted a work experience boy. He helped muck in and we got the furniture and sofa bed built for the photo studio.
I ordered my furniture from the Vasagle store on Amazon and I am really happy with it all, it really matches the feel I wanted in the studio.


Installing the LED wall panels for backlit photography
One thing I really wanted was an LED wall for backlit high key photography. I went to Costco to get 4 LED panels and used my go to electrician, Mark Bessant - MB Electricals. I got a cheap Ikea curtain pole and some cheap amazon muslin curtains to hang in front of the panels to soften the light.


The finished Photo studio in Bristol
The final result of all our hard efforts. It's mad to think that this is at the bottom of my garden! When I am not using the studio, it doubles up as a den for my children and their friends to watch Netflix in as I can roll the paper down as a screen for the projector and unroll the bed for them to have a little teenage chill zone!


Comments